
Updating Your Emergency Notification Contact Method Settings - via the Everbridge App for iOS
NOTE: Before following the instructions below, you will need to download the Everbridge app to your phone. For work mobile phones, you may need to access your agency’s Mobile Device Management (MDM) solution. If you are unable to find or access the Everbridge application, please contact your IT department.
- Once the Everbridge application is on your phone, open the application.
- When the application opens for the first time, a confirmation that you would like to receive notifications from the application will display. Click "Allow."
- Click "Find an organization or subscription."
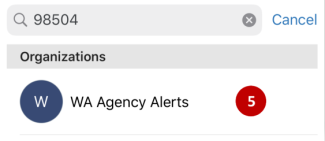
- Click in the "Organization, Keyword or Zipcode" search bar and enter "98504."
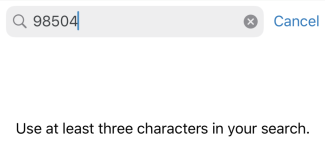
- Once you have searched, select the "WA Agency Alerts."
- Select the option that pertains to you - either Active Directory, your agency (if it is listed), or Secure Access Washington (WSP and OSPI only).
NOTE: Do not select "Don’t use SSO."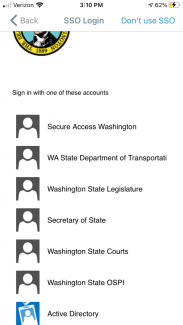
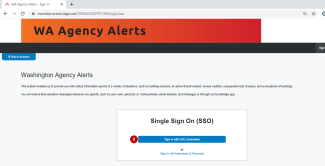
- Enter your SSO account credentials.
NOTE: You may be asked to sign in with your work email address or in the format of "domain\user". Your username needs to be all lowercase, and the password is case sensitive. Follow the on-screen instructions for entering your credentials.
NOTE: Do not select "Don't use SSO."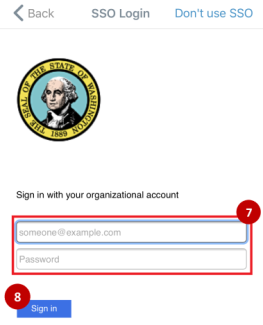
- Click "Sign in."
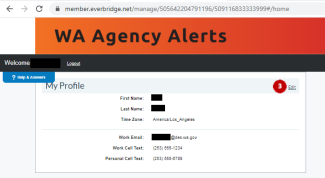
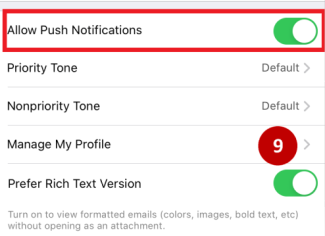
- Confirm that "Allow Push Notifications" is active/on, then click "Manage My Profile."
- In the "My Profile" screen, click the "Edit" link.
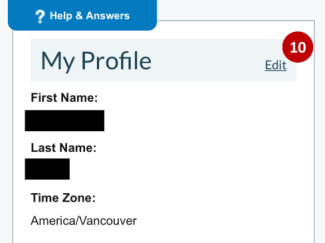
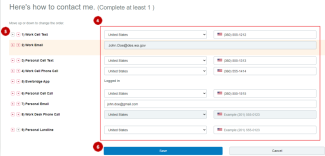
- Enter or edit your contact methods.
NOTE: You will not be able to edit the Work Email or Work Desk Phone Call, as these fields are updated automatically. If the information in these fields is incorrect, contact your agency IT helpdesk to update the information in Active Directory. You may also need to contact your agency HR department to ensure your official duty station and other information are updated in HRMS.
NOTE: We strongly recommend you add your personal mobile and/or work mobile phone numbers to your profile to ensure effective and timely receipt of campus alerts. While your profile includes work email and work desk phone numbers, these methods of contact will not result in timely communication due to limitations in agency campus email and phone systems. - Press the up or down arrows
to indicate the order in which you would like to receive notifications, by contact method.

While the preferred order of notifications received from WA Agency Alerts is at your discretion, we strongly recommend the priority order provided below as these are the most effective and timely means of receiving notification.- Everbridge app (fastest option - almost immediate)
- Work cell text
- Personal cell text
- Work email
- Work cell call
- Personal cell call
- Personal email (slowest option - several hours)
Please note that in some circumstances, you may receive WA Agency Alerts messages in priority as deemed necessary by entity initiating the alert.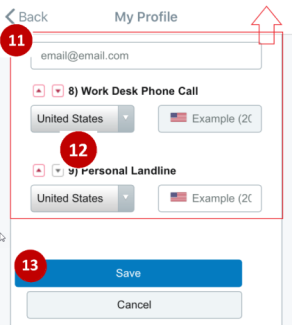
- Click the "Save" button.